Instagram Reels Adds Transitions to In App Editor
Have you tried the transitions feature within the Instagram Reels Editor?
The Transitions functionality in the Instagram Reels Editor allows creators to seamlessly blend clips together, making their videos look smooth, dynamic, and engaging. Transitions are the effects that help move from one scene to another without abrupt cuts, keeping viewers hooked and improving the overall visual appeal of your content.
What Do Transitions Mean in Reels?
Transitions in Instagram Reels refer to the visual effects that help you switch from one clip to another in a fluid and eye-catching way. Instead of jumpy, disconnected cuts, transitions create a smooth flow between different shots, making your Reels look polished and professional.
Why Use Transitions in Reels?
✔️ Keeps Viewers Engaged – Smooth transitions make your content visually appealing and less likely to be skipped.
✔️ Enhances Storytelling – Helps create a flow between different scenes, whether it's a tutorial, transformation, or behind-the-scenes clip.
✔️ Boosts Retention & Shares – Well-edited Reels with transitions are more likely to keep viewers watching till the end, increasing engagement.
Whether you're switching outfits, changing locations, or jumping from one idea to the next, transitions in Reels help elevate your content, making it stand out in the Instagram algorithm
If you haven’t seen it yet, open up your Reels editor and record a Reel with more than one clip. Now go to “edit clips” and what do you see?
You should see a + sign in between the clips! If you hit that button, you’ll get the option to add in transitions. Though there’s not a whole lot of transition options right now, you will see Zoom, Blur, Warp, Flare, Spin, and Glitch.
So let’s take a deeper dive into this new editing feature!
How to use Reels Transitions
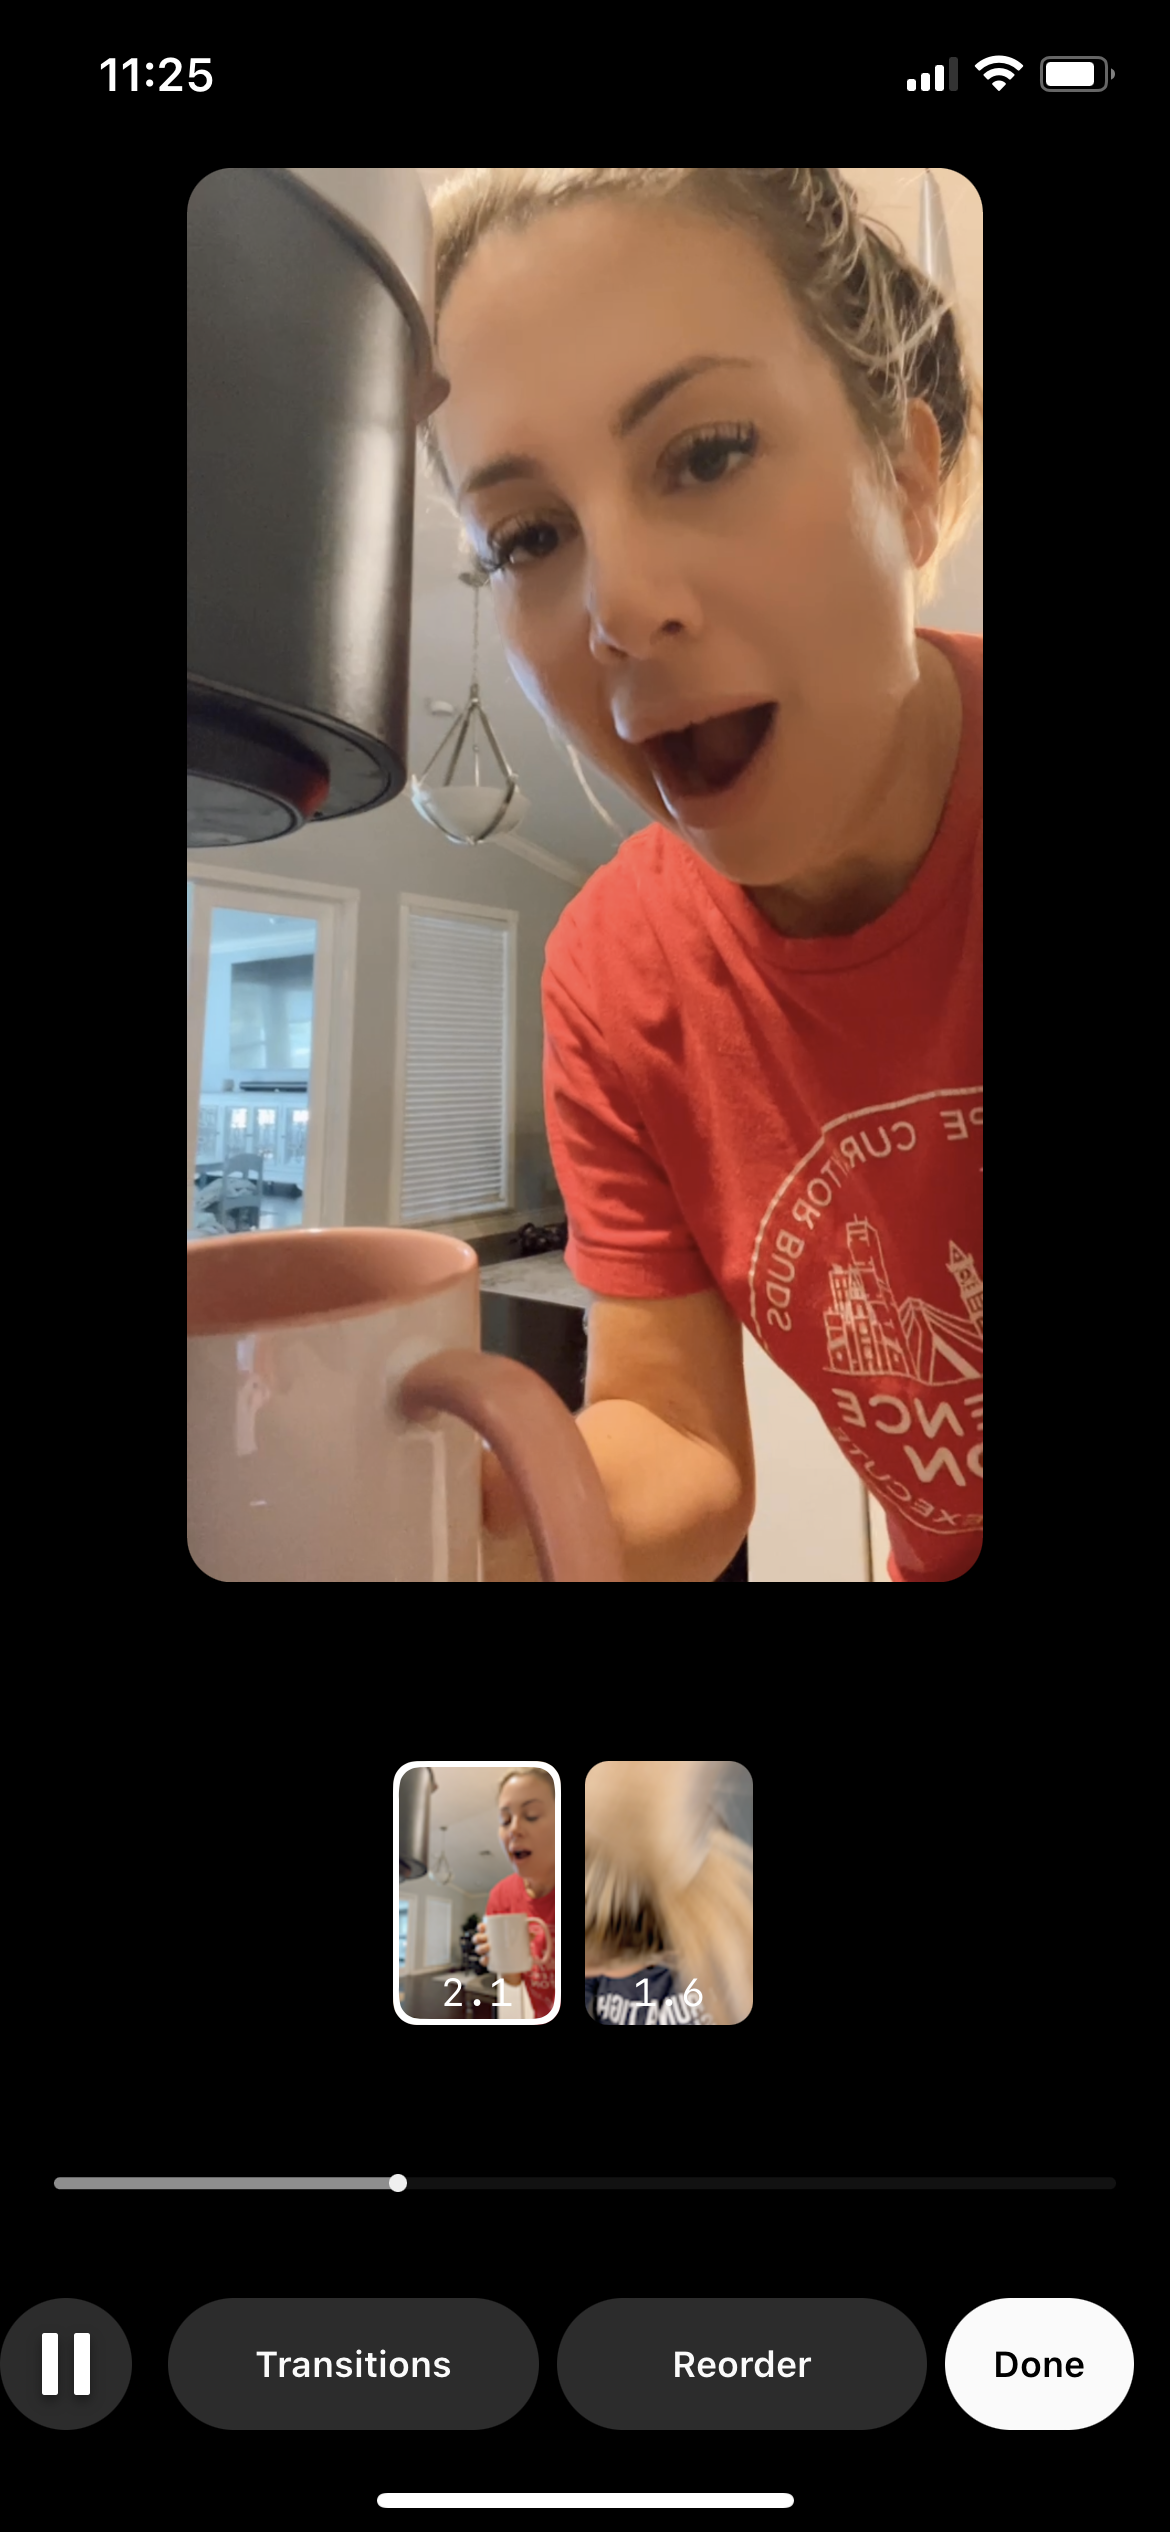
When you go to “edit clips” you will see these two buttons. Click on transitions to see your options.
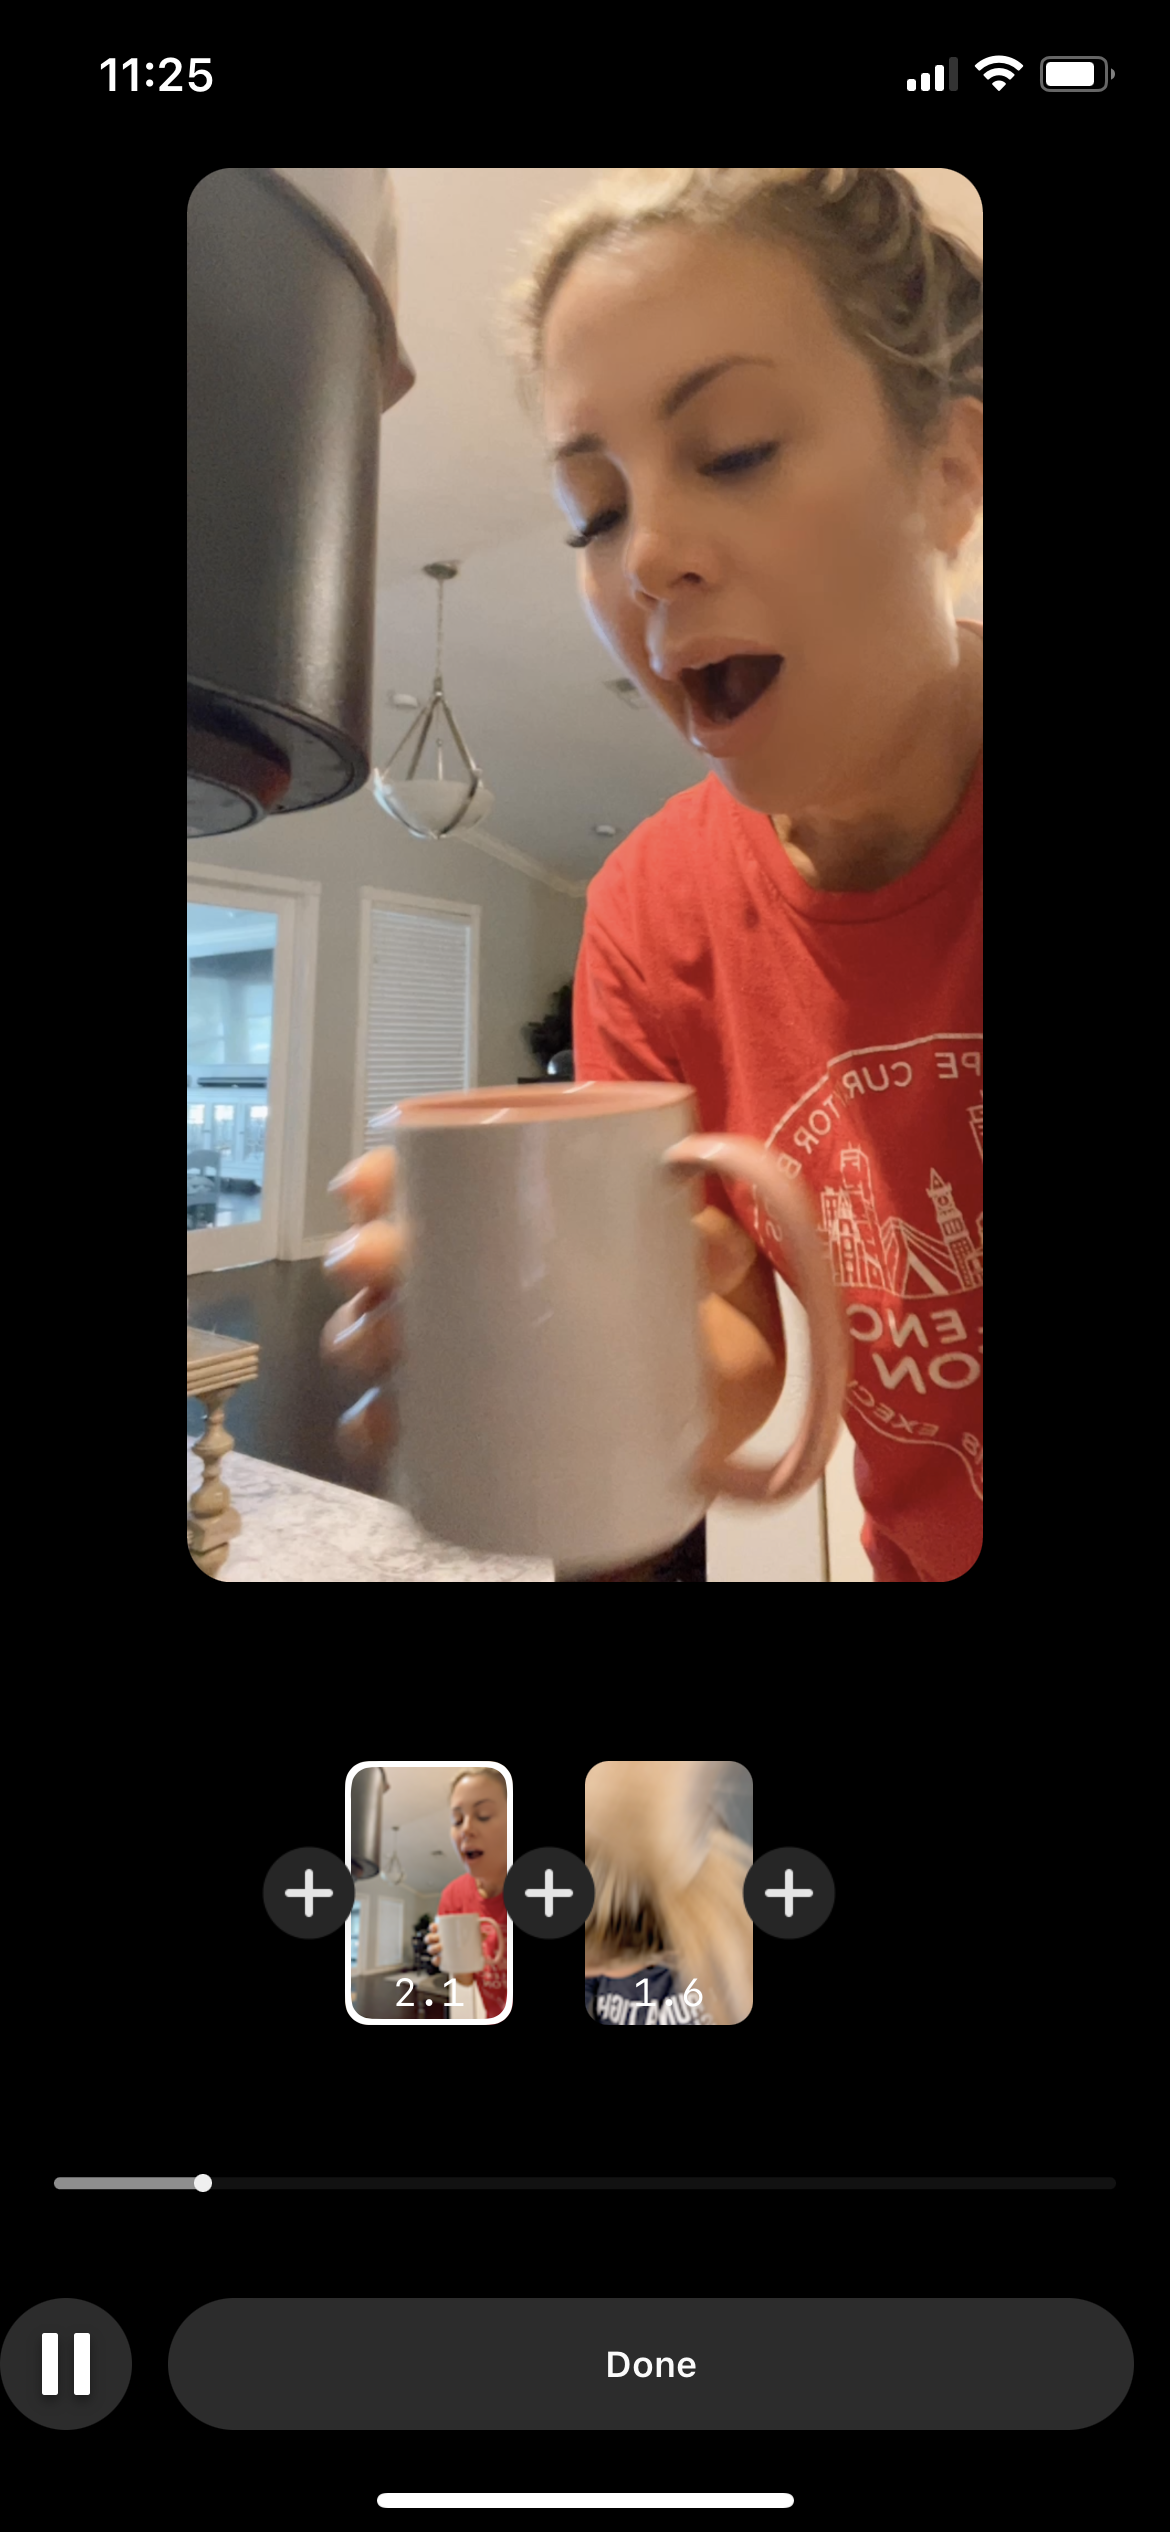
Now click the + button to add a transition in between each clip.
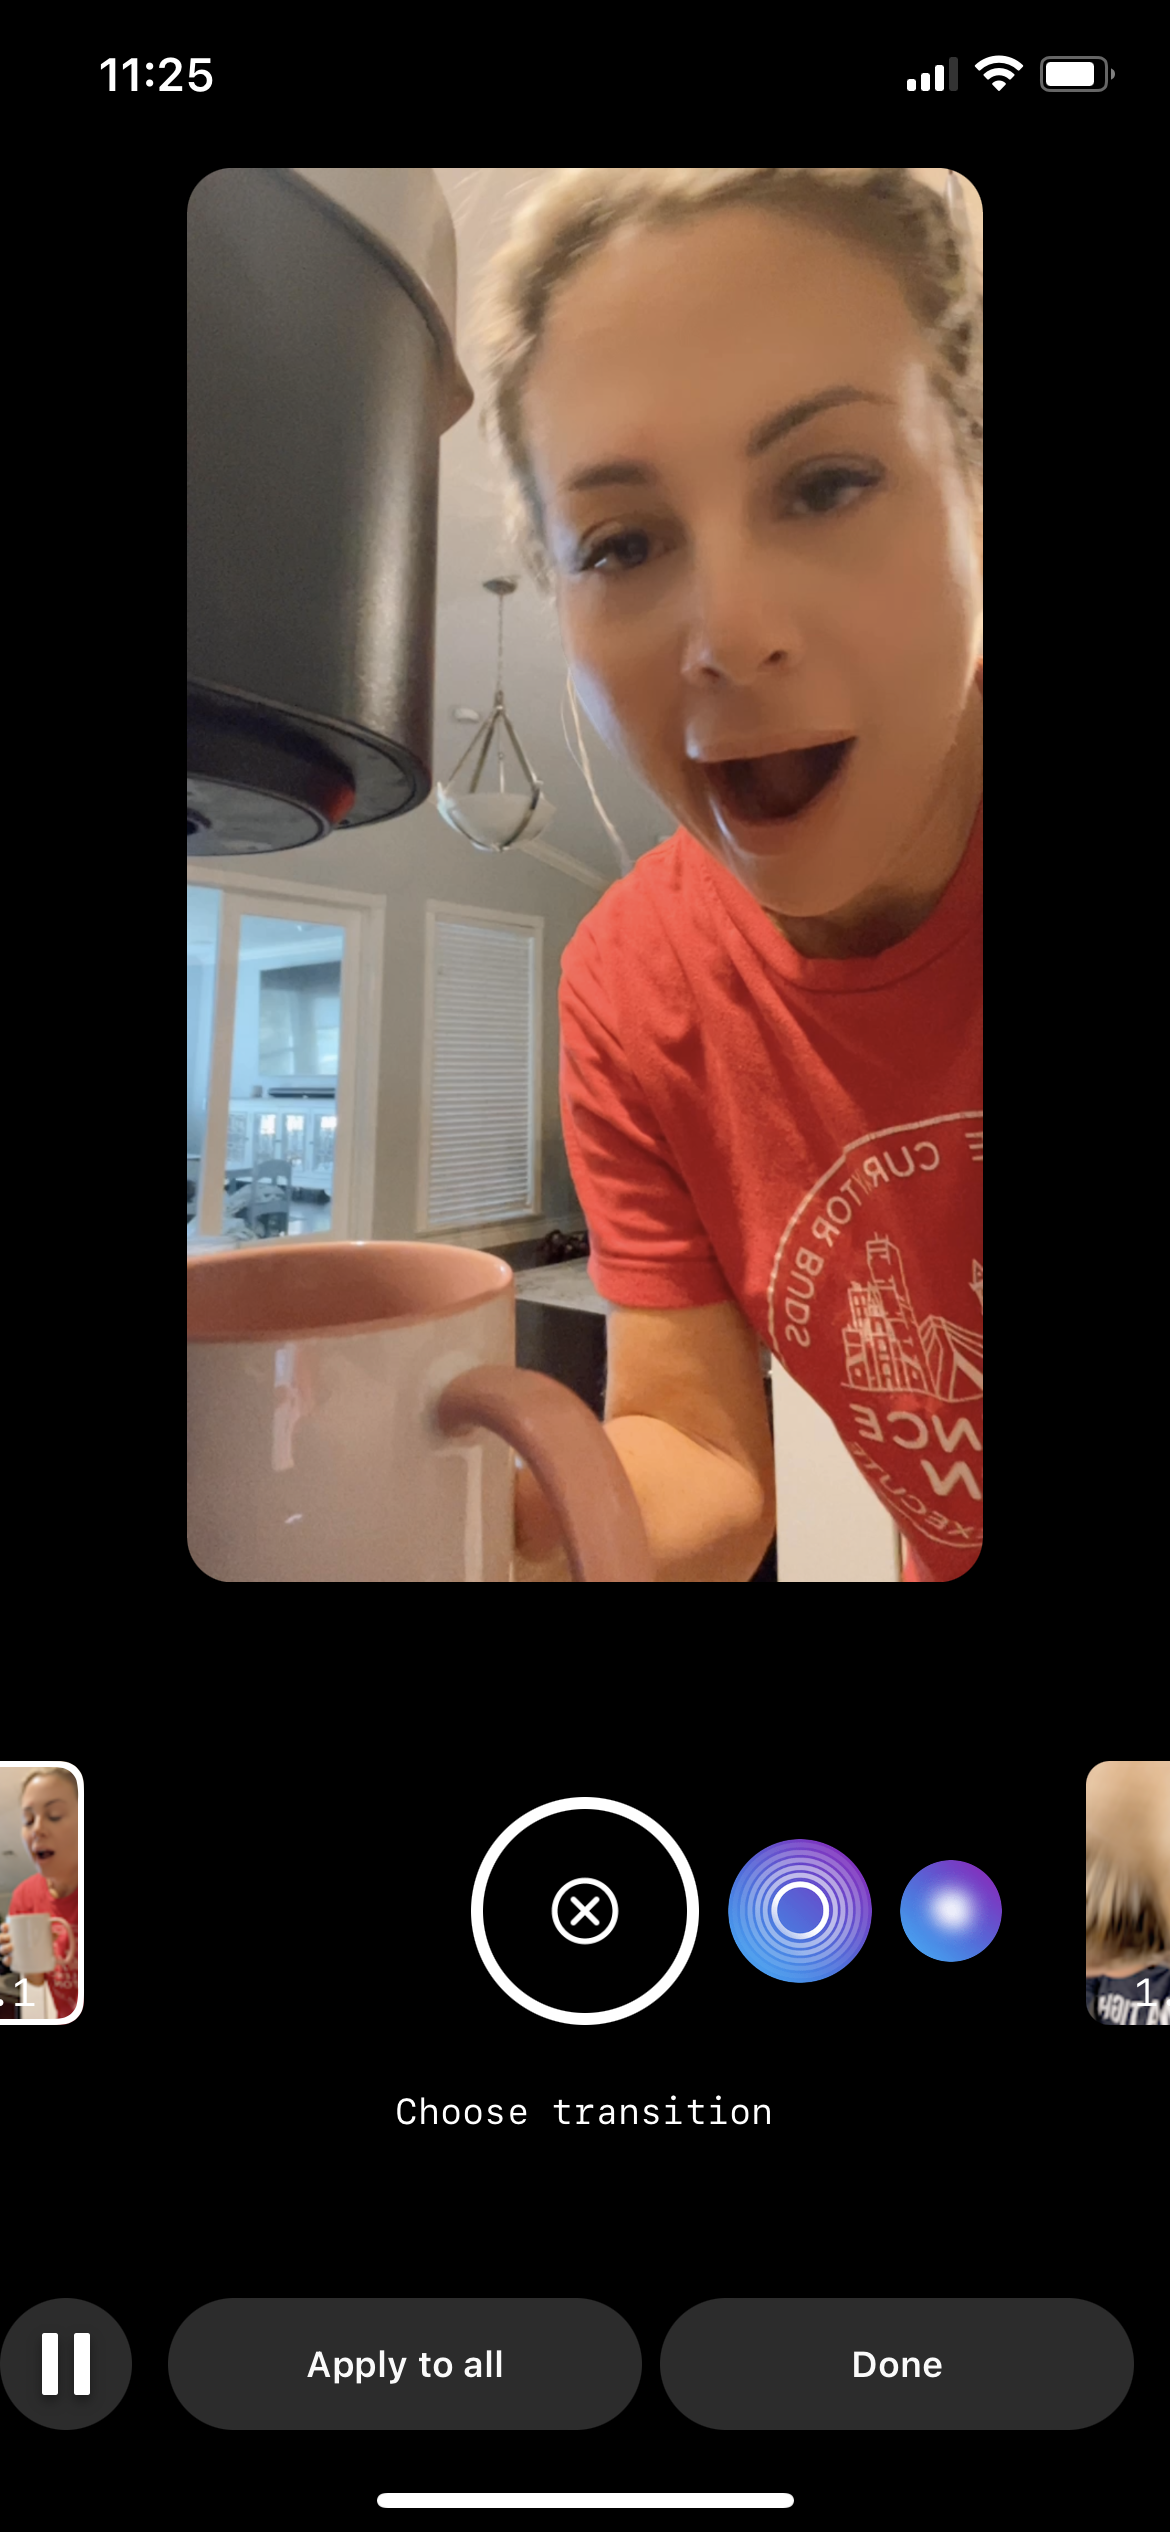
One you click the + button, you will see this pop up saying Choose Transition: Zoom, Blur, Warp, Flare, Spin, and Glitch.
How to Use Transitions in Instagram Reels Editor:
1️⃣ Record Clips in Segments – Plan where your transitions will go before you start filming.
2️⃣ Use the “Align” Tool – This helps you perfectly match up your next clip for a seamless effect.
3️⃣ Tap on a Clip & Select “Effects” – Instagram provides built-in transitions like fades, swipes, and zooms.
4️⃣ Manually Create Transitions – Use quick movements (hand covers, jumps, outfit changes) to create natural transitions without built-in effects.
5️⃣ Preview & Adjust – Fine-tune the timing to make your transition feel natural and smooth.
Reels Transitions Best Practices
Instagram Reels transitions are a fun way to spice up your videos, hold viewers’ attention and increase engagement. These fun transitions can work across any industry, from Real Estate to Retail, to Skincare and beyond. Here’s how you can use transitions to keep your viewer’s attention:
When playing with transitions, it may be easier to start with ONE or TWO of the same transition in your video. I personally think if you’re warping and spinning, you may throw your viewers off. So pick one and stick to that one for your full video the first time.
Use a transition after the first 3 seconds. This will capture the attention of your viewer right off the bat and keep them intrigued.
The zoom transition is the most popular transition right now on TikTok and Instagram and seems to be well liked by most viewers. I suggest trying that transition first!
Here’s an example of where you can use transitions on your instagram Reels.
What transition will you try? Connect with us on Instagram and tag us in your Reels!
Need help with your instagram reels? Grab our Reels glow up kit!